Introduction – Stuffed Animal DIY Heating Pad
Heating pads are a fantastic tool for warming you up and providing relief from aches, pains, and muscle soreness. By their construction they are good at retaining heat. So useful if you turn down the heater to save energy. This practical guide will not only show you how to craft a stuffed animal DIY heating pad perfect for easing those discomforts, but will also help reduce your carbon footprint. Say hello to sustainable and cozy pain relief solutions.

Materials and Tools Needed For Stuffed Animal DIY Heating Pad
Before getting started, gather essential materials that are eco-friendly and reduce waste. Old or gently used stuffed animals are perfect for upcycling into heating pads due to their soft textures. Consider using eco-friendly fabrics, such as organic cotton or recycled polyester, if starting from scratch. Ensure you have the necessary tools on hand, such as scissors, needles, thread, and a sewing machine:
- Old or gently used stuffed animals: These provide soft textures and are ideal for upcycling into heating pads. Make sure they are clean before use.
- Eco-friendly fabrics: If you prefer to start from scratch, consider using fabrics that have minimal impact on the environment. Options include organic cotton and recycled polyester.
- Scissors: Necessary for cutting fabrics to the desired size. Make sure they are sharp for a clean cut.
- Needles: You will need these to sew the fabric or stuffed animal together after filling it with the heating material. A variety of sizes may be helpful, depending on the thickness of your fabric.
- Thread: Choose a thread that matches your fabric or one that stands out if you prefer a contrasting look. The thread should be durable, as it will need to withstand heat.
- Sewing machine: This tool will speed up the sewing process and provide durable, even stitches. If you don’t have a sewing machine, you can sew by hand, but it will take more time.
Choosing the Right Filling for Your Heating Pad
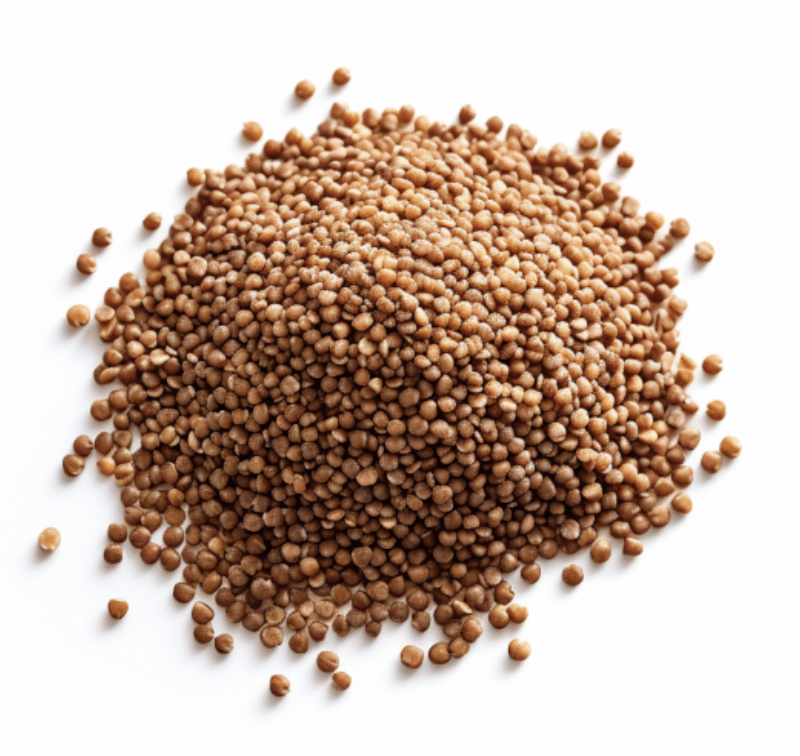
There are various eco-friendly filling options to choose from in creating a sustainable heating pad. Compare pros and cons for materials like rice, flaxseed, wheat, buckwheat and cherry pits. Keep in mind that each filling may have unique heating preferences and environmental considerations, so be sure to weigh the options and select the most suitable material for your project.
| Filling Material | Pros | Cons |
|---|---|---|
| Rice | Cheap and widely available; holds heat well | Can have a burnt smell if heated too much; potential risk of insect infestation if not stored properly |
| Flaxseed | Holds heat longer than rice; small size makes for a more comfortable and flexible pad | More expensive than rice; can be harder to find |
| Wheat | Easily accessible; heat lasts for a considerable period | Can develop a distinct smell when heated; potential risk of insect infestation if not stored properly |
| Cherry Pits | Very long-lasting; maintains heat for a long time; unique texture | More expensive; requires more work to prepare if you’re using fresh cherries (cleaning and drying the pits) |
| Buckwheat | Holds heat well; the husks provide a unique, comforting texture; less prone to burning compared to some grains | More expensive than rice or wheat; might be difficult to find; has a distinctive smell that some people may not like |
Buckwheat is very popular in Japan and has been used in therapeutic mattresses.
Step-by-Step Guide for Creating a DIY Stuffed Animal Heating Pad

Preparation
Begin by preparing the stuffed animal or soft fabric using sustainable and low-carbon techniques. Remove excess stuffing from the toy, and ensure any hard parts, such as buttons or plastic eyes, are taken out.
Sewing and Assembly
Sew an opening in the stuffed animal large enough to fill it with your chosen material. Use a sewing machine with energy-efficient settings where possible or hand-sew the opening.
Add A Zipper (Optional)
A zipper allows you to empty out the filling when you want to wash the fabric cover, making the heating pad much easier to maintain. It also enables you to replace the filling if it becomes less effective over time or if you want to experiment with different materials.
Here’s a brief instruction on how to incorporate a zipper into your heating pad:
- Measure the Length: Determine where you want to place the zipper and measure the length.
- Cut the Fabric: Cut two fabric strips that match the length of the zipper. These will be sewn on either side of the zipper.
- Sew the Zipper: Place the zipper face down on one of the fabric strips, aligning the edges. Use your sewing machine’s zipper foot to sew close to the zipper teeth. Repeat this process on the other side of the zipper with the second fabric strip.
- Attach the Zipper to the Pad: Now, sew the fabric strips (with the attached zipper) to the opening of your heating pad. Make sure the zipper opens and closes smoothly.
- Fill the Heating Pad: Once the zipper is installed, you can fill your heating pad with your chosen material. Close the zipper, and your heating pad is ready for use!
Filling and Sealing
Fill the heating pad with your chosen eco-friendly material, ensuring the pad thickness adequately addresses your comfort needs. Once filled, sew the opening shut using sustainable techniques, making sure it is secure and leak-proof.
Customize the Exterior Design
Feel free to personalize and customize the exterior with eco-friendly materials such as fabric markers or patches. This step allows you to add a touch of creativity to your sustainable heating pad while staying true to your commitment to the environment.
Using and Maintaining Your DIY Stuffed Animal Heating Pad
Heating Instructions
Here’s a rough guide purely for informational purposes to heating times for various filling materials, based on an estimated weight of 1 lb (about 0.45 kg). We do not suggest that you follow this guide. This is only here for informational purposes. For ourselves, we imagine that to find the right heating interval we would start with 30 second increments and increase it until its comfortable and yet not too hot.
Please remember that these are approximate times and could vary depending on the specific heating appliance used, the thickness of the fabric enclosing the filling, and individual preference for heat level. Always monitor any item you’re heating closely to prevent overheating or potential fire risks.
| Filling Material | Approximate Heating Time |
|---|---|
| Rice | 1 – 2 minutes |
| Flaxseed | 1 – 2 minutes |
| Wheat | 1.5 – 2.5 minutes |
| Cherry Pits | 2 – 3 minutes |
| Buckwheat | 1.5 – 2.5 minutes |
Disclaimer: Always monitor any item you are heating in the microwave and never leave it unattended. Overheating can cause burns, damage to your microwave, or even a fire. Always check the temperature of the heating pad before using it on your skin to avoid burns. If you have any doubts, it’s better to heat the pad in shorter intervals, checking the temperature frequently. Always use a microwave-safe container if you’re heating the material before placing it into the fabric cover. Heating times may vary based on your microwave’s wattage.
Safety Precautions
Always exercise caution when heating and handling your heating pad to prevent burns and damage to your pad or appliance.
Cleaning and Maintenance
Maintaining the cleanliness and integrity of your heating pad contributes to its lifespan and eco-friendliness. Follow eco-conscious cleaning habits such as spot-cleaning with chemical-free detergent or hand-washing the cover in cold water.
Remember to always remove the filling before washing the heating pad cover to prevent the filling material from getting wet or damaging your washing machine. Here’s where the zipper is super useful – simply unzip and remove contents for washing.
Additional Eco-Friendly and Sustainable Living Ideas
After completing your stuffed animal heating pad, explore other DIY projects and habits that promote sustainability. Consider tactics to reduce your individual carbon footprint and incorporate sustainable living practices into your daily life.
Conclusion – Stuffed Animal DIY Heating Pad
Creating an eco-friendly stuffed animal heating pad has countless benefits, from achieving sustainable pain relief to promoting environmental consciousness through creative projects. Embrace the opportunity to reduce your carbon footprint and share your experiences with others, inspiring a community dedicated to sustainability and responsible living.