Our living room has been in need of a makeover for a while now. But we have been trying to avoid buying any more stuff, as a way of cutting both cost and carbon. So it’s just been sitting there, looking a bit bland.
There is nothing wrong with the room itself. In fact it is my favorite room in the house. It is a space where the kids can play in full view of the dinner table while we try to have civilized meals with friends.
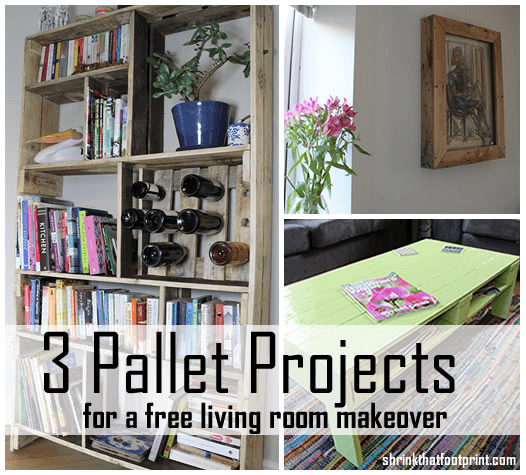
A One Weekend Wood Pallet Furniture Project
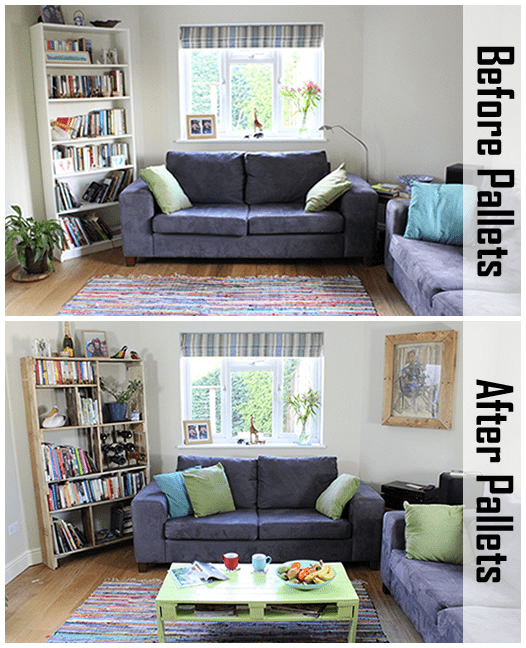
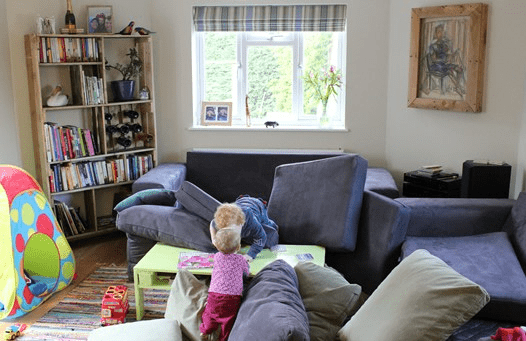
This is what it looked like before its pallet makeover last weekend, and how it looks now.
I’ve been drooling at people’s pallet upcycles for a while now, seeing the pallet-able pinterest board from Ruth at LivingWellSpendingLess was the tipping point.
So last weekend I thought I’d give it a go.
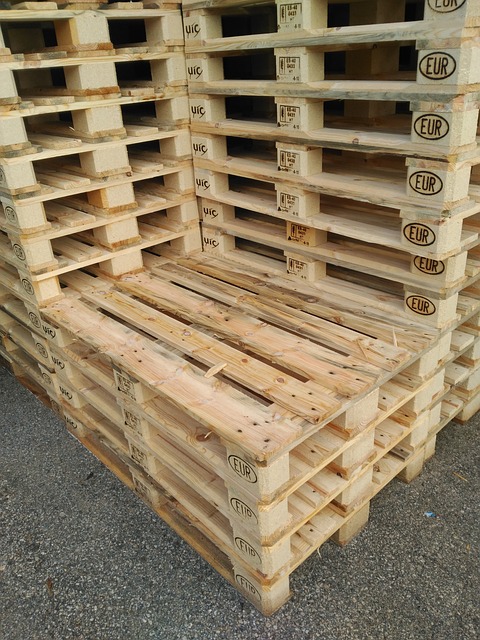
On Friday I grabbed 4 pallets from my local garden center who have a pile of waste wood out the back. I was especially pleased with a long double pallet I found, as I knew it was tall enough for the side of a book shelf.
A wood pallet is a flat transport structure that is used to store and transport materials or goods in a stable manner. It consists of a flat structure made of wood boards, which are then secured and held together with metal or plastic bands. Wood pallets are typically used to transport and store items in warehouses, and to move them around on trucks or ships.
The only other stuff I needed was an old print (with a frame) I bought for £1 ($1.50), some screws, some leftover paint, a drill, a hammer and a hand saw. I did a bit of filming while I made these three pieces, so I’ll make a tutorial for each in the next few weeks when I have a moment to edit.
But for now, here are the results.
1) Pallet Box Frame (2 hours)
I’ve never seen this done before, but I thought it was worth a try. The fact I’m publishing it means it wasn’t a total mess.
All I did was use the cardboard backing of an old picture as a template to build a box using pallet slats. Then I made a frame for the front of the box, also using slats. Slipped the old glass in. Wrapped a new picture around the cardboard and tacked it in position from behind.
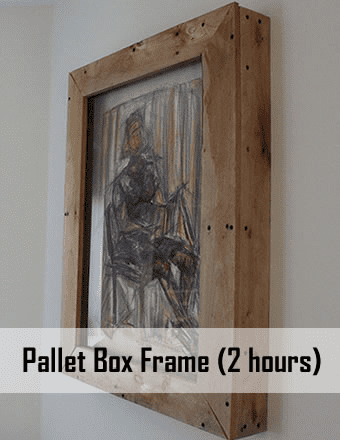
Now that it is on the wall I think it looks a little heavy, but I like it. Because I only used a handsaw the 45 degree cuts were pretty bad and the wide frame was determined by the width of a pallet slat. It also weighs 10kg (22 lbs), so it needed good fixings.
Still, not too shabby for two hours work. I’ll add a link to the tutorial here once it’s done.
2) Pallet Coffee Table (4 hours)
A pallet table must be the most common pallet upcycle around. Stick some wheels on a pallet and you’ve got one.
This one actually took me less than two hours to make, but then I made the mistake of letting my son choose a paint color. He chose this green from his den. The sanding and two coats of paint took me almost 3 hours in total.
For the table itself all I did was cut a pallet in half. Carefully pull off the slats, then put them back on without gaps. I used the leftover wood to add legs, a side board and shelf underneath.
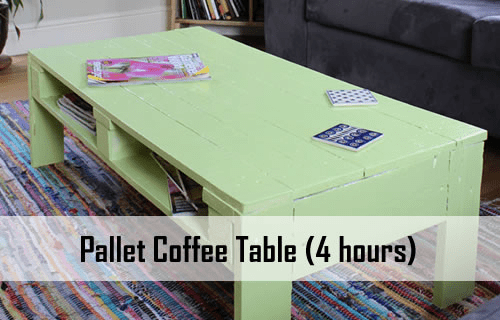
I made this table quite low, so the kids can use it for art and craft stuff. But it turns out it’s actually great for reading a paper, hot drinks or putting your feet up.
Adding two bits of wood underneath to form a proper shelf was a great idea (my wife insisted).
3) Pallet Bookshelf (6 hours)
When I was two hours into making this, and had just got four horizontal shelves up, my wife wandered out and said:
That will make lovely storage . . . for the shed!
I just kept on going, adding a vertical here, removing an ugly brace there. The radio was on, I had a beer on the go, the sun even came out for a minute. It was so damn pleasant it didn’t really matter if the shelf worked out (that’s what I was pretending at least).
By the end of the day I had the basic shape, and it looked OK. But later that night I realized the pieces that were holding together the horizontal slats weren’t pretty. I removed those and it looked loads better.
When the wine rack went in and I gave it a varnish it looked better again. Once we filled it with our stuff, it was looking pretty great.
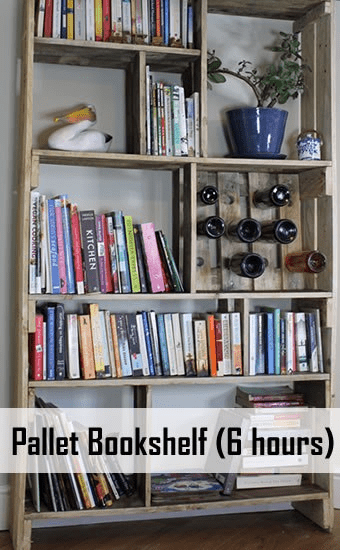
The bookshelf is my favorite by far!
I particularly love the asymmetry of the shelving and the 12 bottle wine rack. It is lovely to have wine in the room where we have the dining table again. It also does a much better job of framing our stuff.
When you consider the wood was free and I really enjoyed the process, it was a bargain.
And here is what it looks like when you turn your back for 5 minutes

Don’t forget to sign up to our email list below, I’ll email a link to the tutorials once I get a chance to edit the footage.
Lindsay Wilson
I founded Shrink That Footprint in November 2012, after a long period of research. For many years I have calculated, studied and worked with carbon footprints, and Shrink That Footprint is that interest come to life.
I have an Economics degree from UCL, have previously worked as an energy efficiency analyst at BNEF and continue to work as a strategy consultant at Maneas. I have consulted to numerous clients in energy and finance, as well as the World Economic Forum.
When I’m not crunching carbon footprints you’ll often find me helping my two year old son tend to the tomatoes, salad and peppers growing in our upcycled greenhouse.